Keeping your trailer bearings well-greased is crucial for ensuring the smooth operation of your trailer. Properly greased bearings reduce friction, prevent wear, and extend the life of your trailer’s wheels. If you neglect to maintain your trailer bearings, it could lead to costly repairs or even dangerous accidents on the road. But don’t worry! Greasing trailer bearings is easier than you might think.
In this article, we’ll take you step-by-step through the process of how to grease trailer bearings. Follow these simple instructions, and your trailer will be rolling smoothly for years to come.
Why is Greasing Trailer Bearings Important?
Trailer bearings allow your trailer’s wheels to rotate freely by reducing friction. However, over time, the grease that lubricates these bearings can break down or get contaminated. This can cause the bearings to overheat, seize, or even fail completely. Regular maintenance is key to avoid these problems.
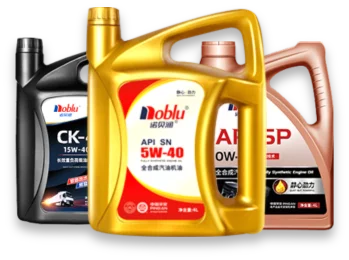
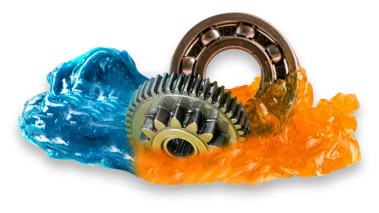
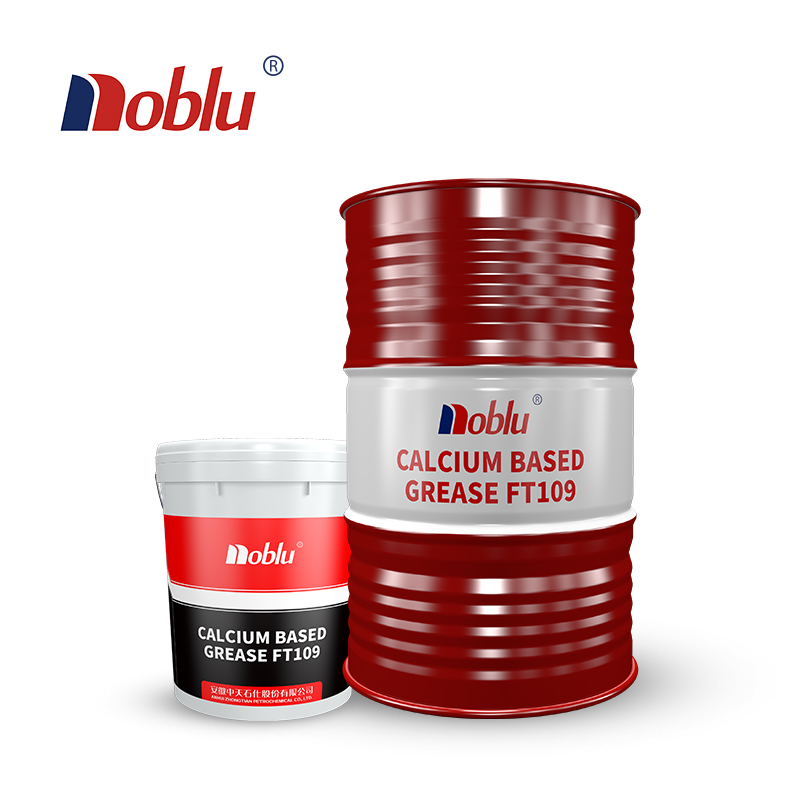
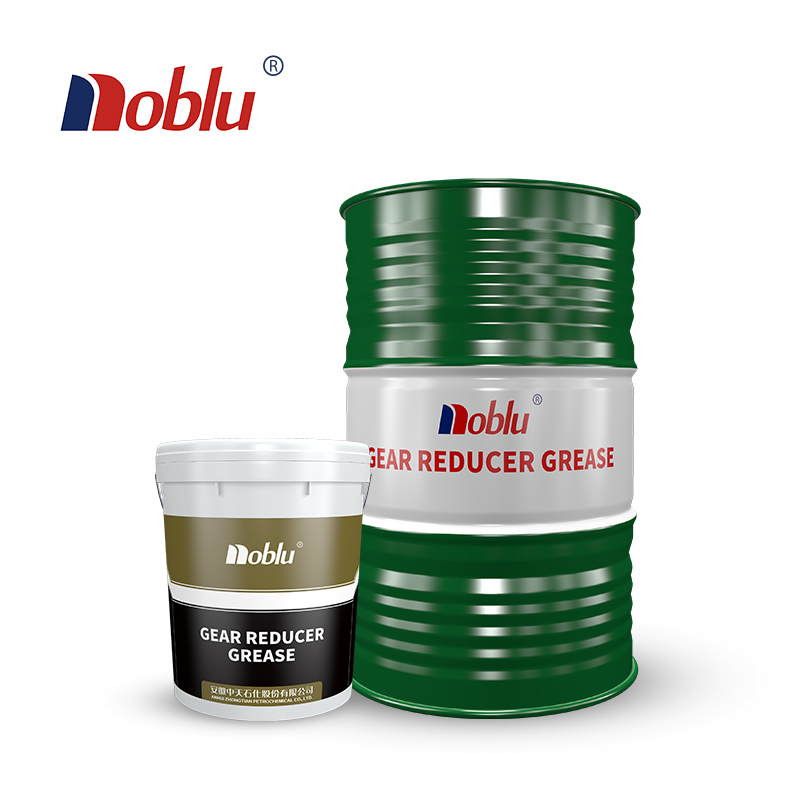
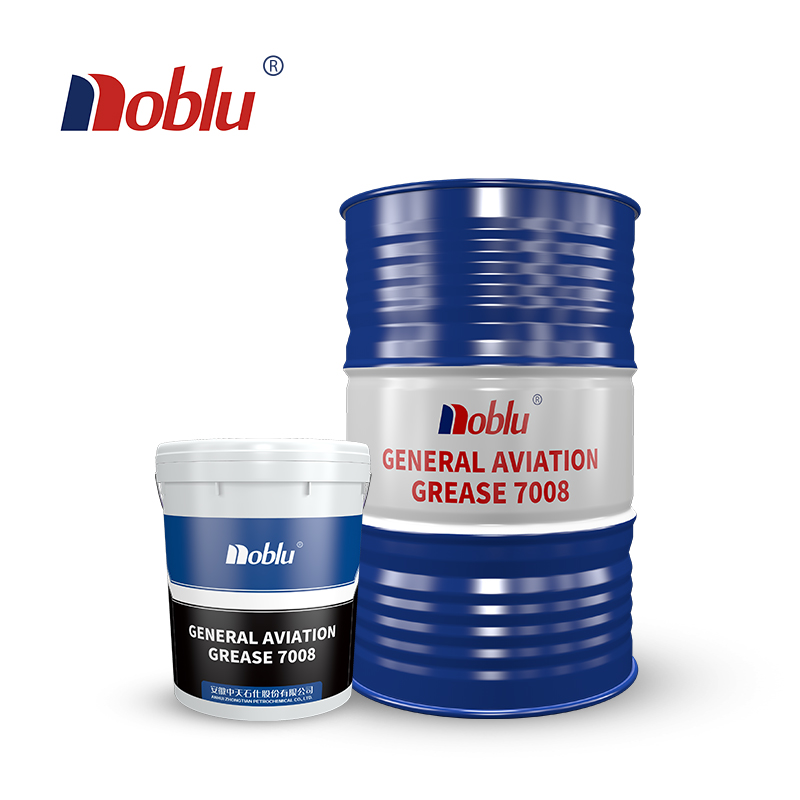
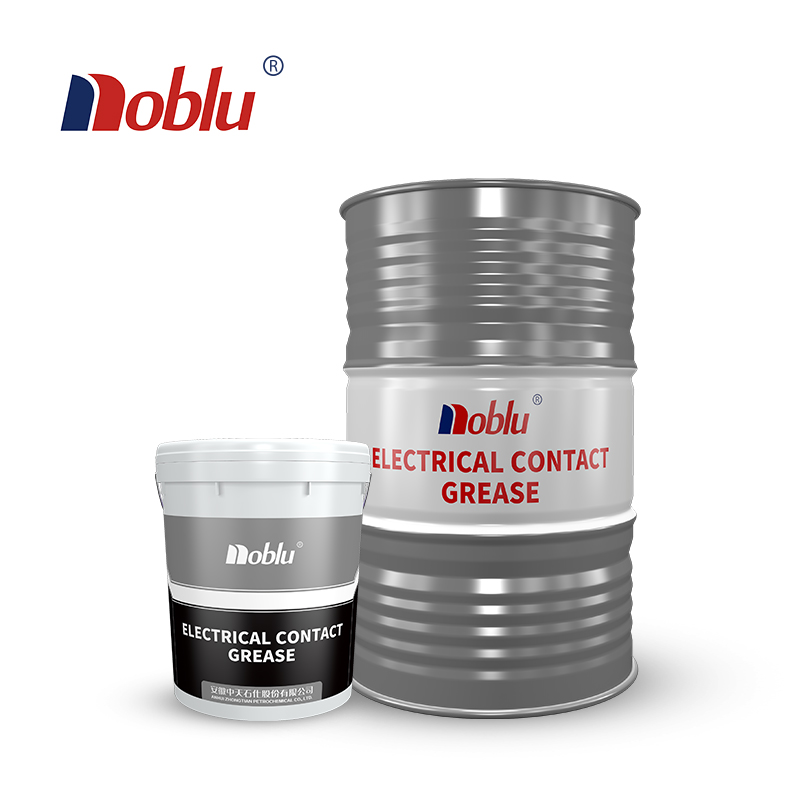
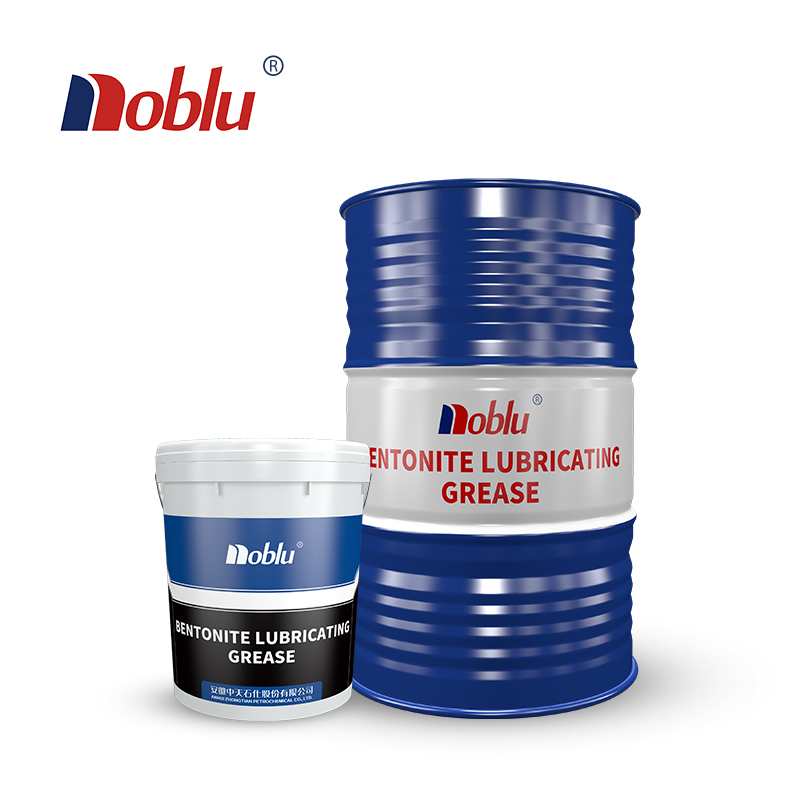
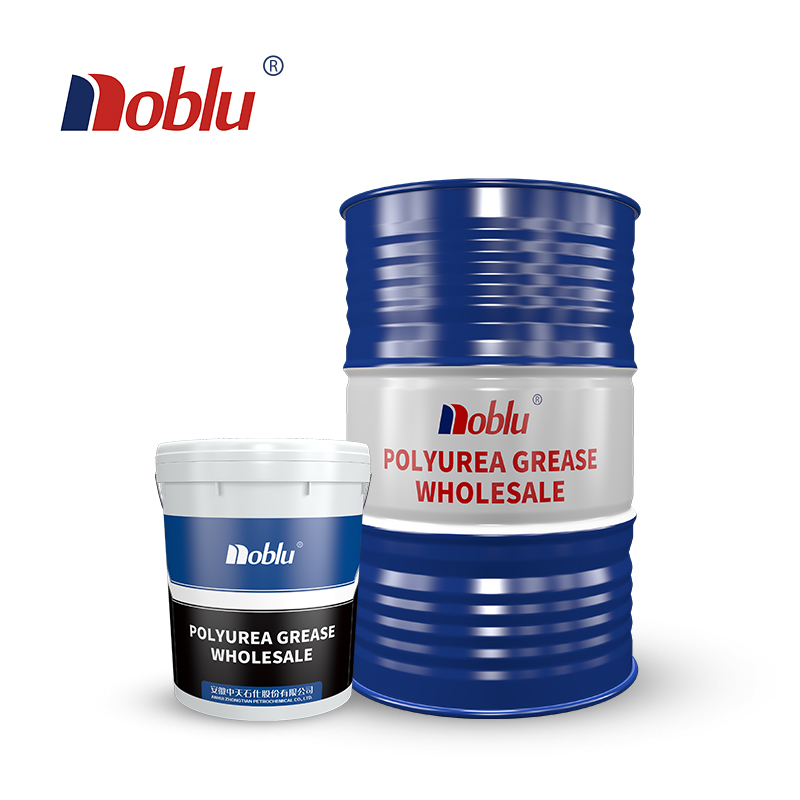
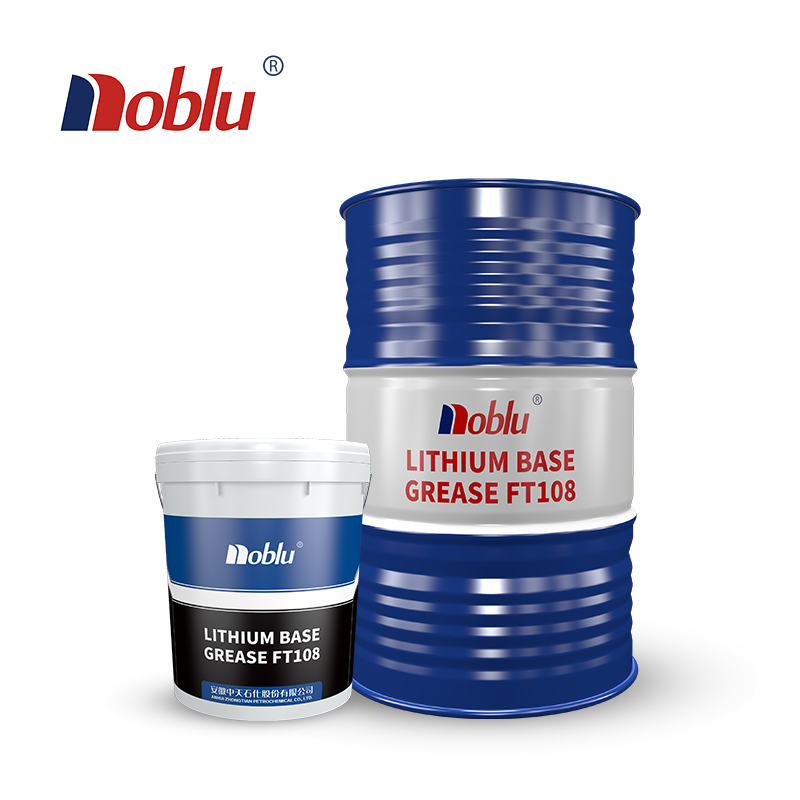
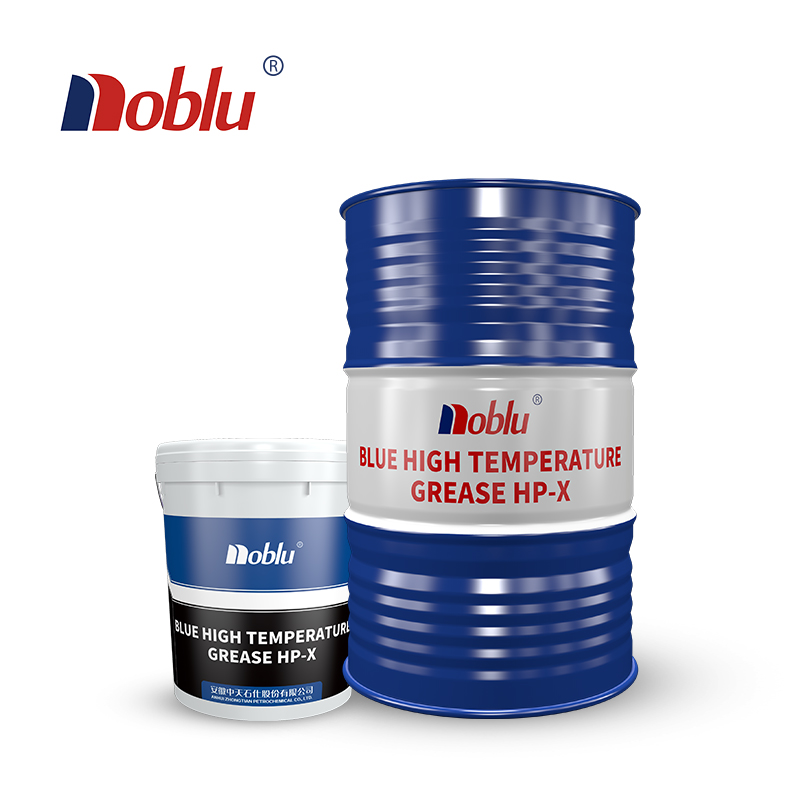
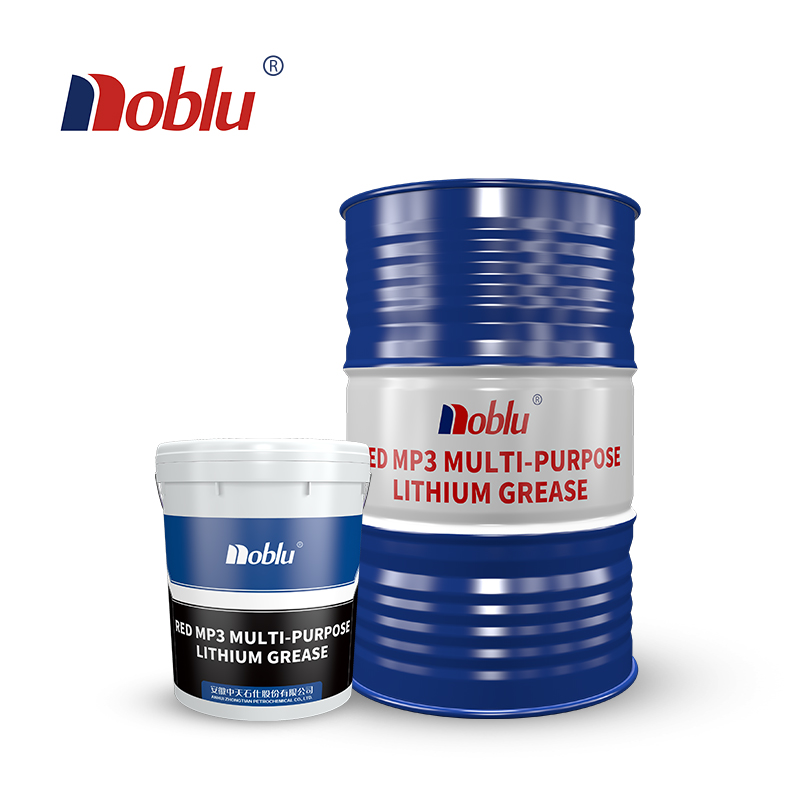
At Zhongtian Petrochemical, we provide high-performance greases like multi-purpose lithium grease and polyurea grease, which are ideal for trailer bearings. These greases are formulated to withstand heavy loads and high temperatures, ensuring long-lasting protection for your trailer’s wheels. Without regular greasing, you risk expensive repairs or even accidents caused by bearing failure.
Tools You’ll Need
Before you start, gather these basic tools:
Wheel chocks
A jack and jack stands
Wrenches or a socket set
Bearing grease (make sure it’s designed for trailer bearings)
A grease gun (optional but helpful)
Clean rags or paper towels
Using high-quality lubricants like Zhongtian Petrochemical’s specialized greases can extend the life of your trailer bearings, reducing the chances of a breakdown on the road. Our greases are designed for maximum durability, particularly for heavy-duty and high-temperature environments
Step-by-Step Guide to Greasing Trailer Bearings
1. Prepare Your Trailer
Make sure your trailer is on a flat surface. Chock the wheels to prevent the trailer from rolling. Next, use a jack to lift the trailer and securely place it on jack stands.
2. Remove the Wheel
Use your wrench or socket set to remove the lug nuts from the wheel. Set the wheel aside carefully. This will give you access to the hub where the bearings are located.
3. Remove the Dust Cap
The dust cap is the small metal or rubber cap at the center of the wheel hub. It protects the bearings from dirt and debris. Use a flathead screwdriver or pliers to carefully pry it off. Be gentle, as you don’t want to damage the cap.
4. Take Out the Cotter Pin and Castle Nut
Once the dust cap is off, you’ll see a cotter pin holding the castle nut in place. Use pliers to remove the cotter pin.
5. Remove the Hub and Bearings
With the castle nut removed, carefully slide the hub off the axle. As you do this, the bearings will come out along with the hub. Pay attention to how they’re arranged, as you’ll need to put them back in the same order.
6. Clean the Bearings
Use clean rags or paper towels to wipe off the old grease from the bearings and the hub. Inspect the bearings for any signs of wear or damage. If they look damaged or worn, it’s best to replace them.
7. Pack the Bearings with Grease
Now it’s time to grease the bearings. You can do this by hand or with a bearing packer (a special tool that helps evenly distribute grease). Pack the grease into the bearings by pressing it into all the gaps between the rollers. Make sure every part of the bearing is covered in grease.
8. Grease the Hub
Before reassembling, apply a thin layer of grease to the inside of the hub where the bearings sit. This helps ensure smooth rotation and prevents metal-to-metal contact.
9. Reassemble the Hub and Wheel
Carefully place the greased bearings back into the hub in the same order they came out. Slide the hub back onto the axle, then screw the castle nut back on. Tighten the nut just enough so the hub spins freely, but without too much play. Insert the cotter pin and bend the ends to secure it. Finally, replace the dust cap.
10. Reattach the Wheel
Place the wheel back onto the hub and tighten the lug nuts securely. Lower the trailer off the jack stands, and remove the wheel chocks.
11. Check the Bearings
After a short drive, stop and check that the hub is not too hot to the touch. If it feels excessively hot, it may be a sign that the bearings are too tight or there’s not enough grease.
How Often Should You Grease Trailer Bearings?
For general use, you should grease your trailer bearings every 12 months or 12,000 miles, whichever comes first. However, if you regularly tow heavy loads or travel long distances, you may need to grease them more often. Always check your bearings before and after long trips, especially if your trailer carries heavy loads.
What Type of Grease Should You Use?
When choosing grease for your trailer bearings, make sure it’s specifically designed for high-temperature and high-load applications. At Zhongtian Petrochemical, we offer a range of HP Llubricating Grease series for trailer bearings, including high-temperature lithium grease and marine grease, which are ideal for trailers exposed to wet or harsh conditions. Marine grease is a good option if your trailer is used in wet environments, like boating or fishing trailers.
Greasing your trailer bearings is a simple but essential part of trailer maintenance. By following these easy steps, you can keep your trailer in top condition and avoid costly repairs. Regularly maintaining your trailer bearings ensures smooth rides and safe journeys.
Remember to check your trailer bearings regularly and grease them as needed. A well-maintained trailer will last longer, and you’ll have peace of mind knowing your bearings are properly protected.
For more tips and products related to trailer maintenance, visit Zhongtian Petrochemical

